Showing posts with label DIY Op-Shop Furniture. Show all posts

03 December 2011

December Madness

Oh my gosh the year has gone, so many projects left undone. 
No time for delays or excuses don't stall, dash away dash away dash away all.

Sorry, the fist line rhymed by accident and i couldn't help myself. So I have a ton of things I want to finish before Christmas but as always not even half of them will get done. To save time I'm just bunching some of them all together in one big post.

The recipe is the same here:
Cheap second hand finds
Add 1 quick coat of spray primer {because they were all stained}
Add 1 quick coat of paint in your choice of colour
Sand away some of the finish to make it look less 'I did this myself'
And finish with 1 coat of Poly {only if you absolutely have to}


Op Shop Cake Stand $5.
When I got this home I noticed someone had written their New Zealand address on the bottom which made me take a second look at the wood, should I really paint over it, what if it's valuable? It was very high quality and crafted really well. On the other hand I think it's ugly, so yes. 


Op Shop Photo Frame $3.50 / Existing Frame Free
On a recent trip to Sydney I ordered two letters for my girls from a market stall for $15 each. I choose the patterns and the colours to go with the girls room though I didn't really know how I would use them. After a bit of thought I came up with an idea, I just needed two pretty frames. I choose Taubmans Green Sisal and Pale Crimson for the colours. 


More Frames


I bid about $12 for a frame I wanted at the tender centre and won. When I went to pick it up I found out it was part of a group. Seven {mostly} very crappy plastic frames, I took them all just in case

I painted that large green one at the back for something in my playroom with a charcoal metallic spray paint.


A vast improvement.


I have had sick kids of late and as a result have been hanging out at the chemist a lot. Spied this gift bag $1.99 I thought it was gorgeous and deserved to be in a frame and because I own a lot of frames I found I had the perfect one. I used the same charcoal spray paint. It's sparkly up close. 


Still so much I want to finish!


26 March 2011

Piano Seat Redo

Remember the piano seat well it's finally finished ..... ta-da! Yes, I am pleased with myself and as a result this post is a tad over photographed and slightly long winded!


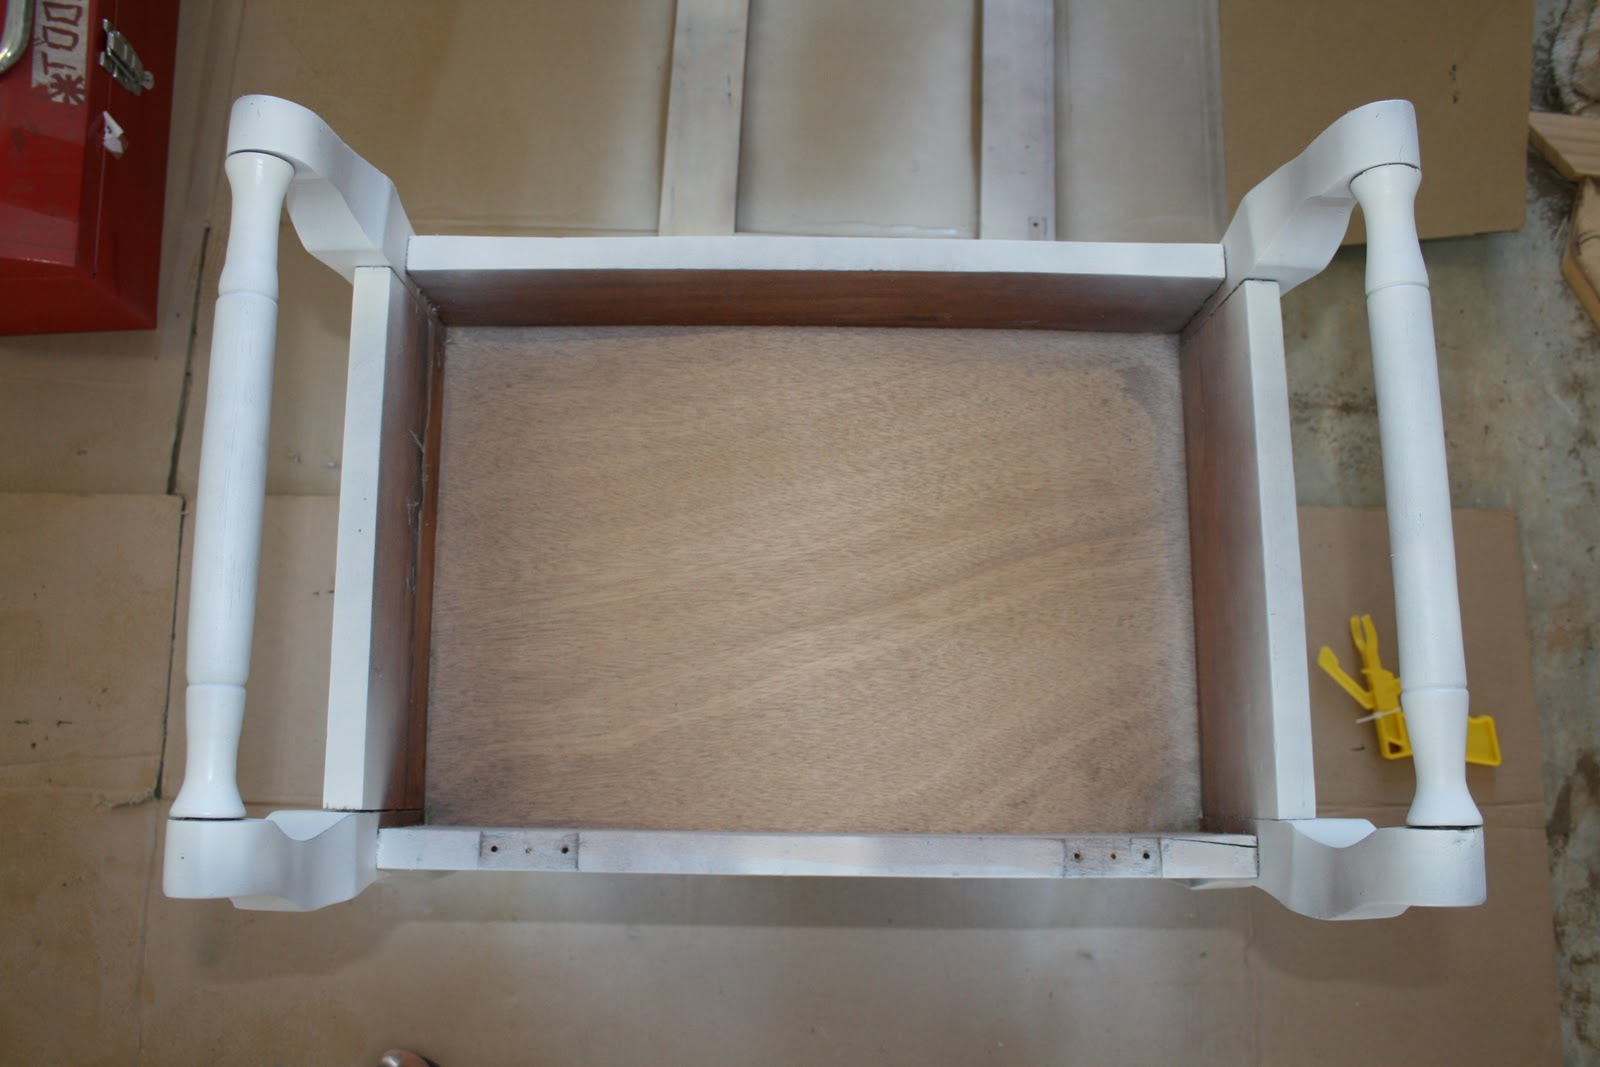
The seat had 'fallen through' the inside and was the first thing to go. The braiding and the nail heads were old and disgusting!


I ended up getting almost all of the nails out but some of them were just too rusted so I nailed them back in and sanded over them, knowing they would be covered in the end.


When all the gross stuff was gone I sanded it a bit then cleaned it with baby wipes.


Then because it's treated wood I gave it two coats of spray primer in white, you only have to wait a couple of hours in-between coats. Then I used a flat white spray paint for the final coat and sanded it back on some of the corners and curves to give it that 'shabby' look. Then I had a baby {you might want to skip that step as it really drags out the process!} Finally I rubbed over some Poly to protect the paint and give it that satiny sheen. 

After the wood was complete I started on the seat, something I had put off since I didn't really know how I was going to make it work. There were lots of layers of grossness behind that faded fabric! In the end I decided to copy the old seat design exactly {it took me a while to come up with that genius plan} I pulled it apart and used it as a pattern.


I used an old T-shirt to cover some board and wadding then stapled it at the back. I already owned some cute fabric {from here} and used the old seat cover to determine size.


I was a bit skeptical about the strength of the old seat, after all it had fallen through but I stuck to the plan of copying what was originally there so I hot glued some pink fabric on the bottom then stapled for extra strength {the original green piece of fabric was just glued on.} Then I placed my newly recovered cushion on top with more hot glue. Then I placed my cute fabric over the top and glued the edges down so that it covered all the old nail holes.


To finish it off I skipped the circa sixties braiding and went straight to nail head trim. {Which I bought here} Mostly you buy nail heads individually which is expensive, time consuming and lets face it unless your a professional upholsterer your never going to get those nail heads to line up straight. If you buy them already joined up in a kit like this it's much easier {although a few nails still died at the hands of my hammer} which by the way you should cover so you don't scratch them all up. Baby sock does the perfect job! You can see the pink underneath when the seat is open.


Glad it's finished, now I can work on the little space were this is going.